Fence installation is a critical stage in any perimeter security project, directly affecting durability, stability, and long-term performance. Even high-quality materials can fail if installation is not executed correctly.
Professional installation is not just about placing posts and fixing panels — it requires proper planning, correct spacing, alignment, and understanding of ground conditions. This guide explains how steel fencing systems are installed in real-world projects.


Planning Before Installation
Successful fence installation starts long before any materials arrive on site. Poor planning is one of the main reasons for delays, misalignment, and additional costs.
Before installation, buyers must confirm:
- Fence layout and total length
- Post spacing and panel sizes
- Ground conditions and terrain
- Access for equipment and transport
- Required tools and labour
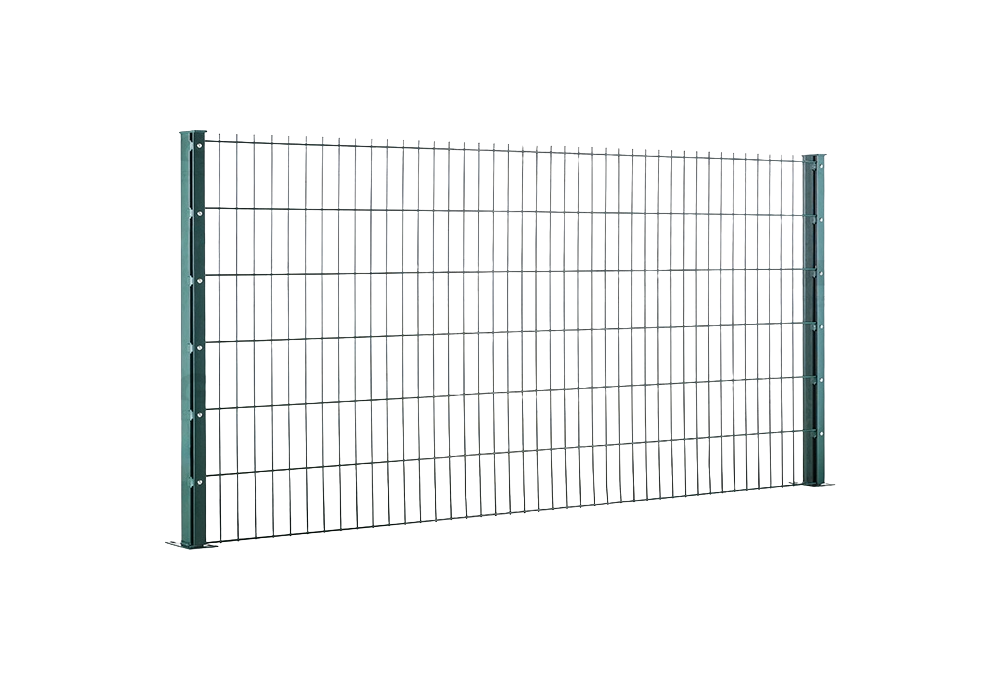
Different systems such as 3D fence panels or 2D 656 vs 868 fence panels may require slightly different installation approaches, particularly due to weight and rigidity.
Step 1: Marking the Fence Line
The first step is to clearly mark the fence line according to project drawings.
This includes:
- Defining boundary lines
- Marking post positions
- Ensuring straight alignment
- Checking levels and slopes
Accuracy at this stage is essential, as even small errors can result in misaligned panels and uneven fencing.
Step 2: Post Installation
Fence posts are the structural base of the system and must be installed correctly to ensure long-term stability.
Posts are typically installed by:
- Digging holes (depth depends on fence height)
- Positioning posts vertically
- Securing with concrete
- For most systems, post depth is approximately:
- 500–800 mm depending on height and ground conditions
Proper post selection is critical, so always match installation with the correct fence posts guide before starting.
Step 3: Setting and Alignment
After installing posts, they must be aligned and allowed to set properly before attaching panels.
Key points include:
- Ensuring vertical alignment (using level tools)
- Maintaining consistent spacing
- Allowing concrete to cure fully
Rushing this stage can compromise the entire fence structure.
Step 4: Panel Installation
Once posts are secure, fencing panels are fixed using clamps, brackets, or fixings depending on the system.
- 3D fence panels are lighter and easier to install
- 2D fence panels require stronger fixings due to weight
- 358 mesh fencing requires precise alignment for security
- Chain link fence involves tensioning rather than rigid fixing
Panels must be installed evenly to avoid stress points and structural imbalance.
Step 5: Fixing and Securing
All panels must be tightly secured to posts using appropriate fixings.
This includes:
- Clamps or brackets
- Bolts and anti-tamper fixings
- Tension wires (for chain link systems)
For high-security projects, fixings must be tamper-resistant to prevent removal.
Step 6: Optional Security Additions
Depending on the project, additional security layers may be installed.
Common upgrades include:
- Razor wire or barbed wire on top of fencing
- Anti-climb extensions
- Electric fencing systems
These additions significantly improve overall perimeter security.
Installation Differences by Fence Type
Different fencing systems require different installation approaches.
| Fence Type | Installation Complexity | Key Consideration |
|---|---|---|
| Chain link fence | Low | Requires proper tensioning |
| 3D fence panels | Medium | Alignment and spacing |
| 2D fence panels | Medium–High | Weight and strong posts |
| 358 mesh fencing | High | Precision and security |
| Palisade fencing | High | Heavy-duty installation |
Common Buyer Mistakes
Even experienced teams can make critical errors during installation.
Common issues include:
- Incorrect post spacing
- Poor alignment
- Insufficient post depth
- Weak fixings
- Ignoring ground conditions
These mistakes often lead to long-term problems, so buyers should review steel buying mistakes: 10 costly errors steel buyers must avoid.
How Installation Affects Cost
Installation is a major part of total fencing cost, not just materials.
Cost factors include:
- Labour and equipment
- Ground preparation
- Fence type and complexity
- Installation time
Heavier systems like palisade fencing or 358 mesh fencing typically require more time and higher installation cost compared to lighter systems.
Best Practices for Professional Installation
To ensure long-term performance, professional installers follow strict standards.
Best practices include:
- Accurate planning and measurement
- Correct post depth and alignment
- Using high-quality fixings
- Allowing proper curing time
- Inspecting final installation
Following these practices ensures durability and reduces maintenance.
Conclusion
Fence installation is a critical part of any fencing project and has a direct impact on performance, durability, and cost. Proper planning, correct materials, and professional execution are essential to achieving a reliable and long-lasting fencing system.
Buyers should always consider installation requirements alongside product selection to ensure the best results.
Speak to CoreMet Steel
CoreMet Steel supports buyers not only with fencing supply but also with practical installation guidance.
We provide:
- Complete fencing systems
- Technical support and specifications
- Project-based recommendations
- Global supply solutions
Contact us to ensure your fencing project is installed correctly and performs as expected.
Fencing systems used in security and construction projects are typically designed in line with international standards to ensure durability, safety, and long-term performance. Guidance on materials, coatings, and structural requirements can be found from organisations such as the British Standards Institution (BSI).
get a free quote
Built for reliable steel supply.projects.trade.sourcing.partnerships.
From steel coils to fencing systems: sourcing quality materials for global buyers, projects, and distributors.
